Google
With some easy and fast steps, you can enable Zammad to authenticate your users via Google.
Register a Google app
First of all, we need to create a new project - you can skip this step if you already have one.
Hint
Use this link to create a new project: https://console.cloud.google.com/projectcreate
Now expand the menu, expand “APIs & Services” and select “Credentials”. Go to the tab “OAuth consent screen” first and ensure to fill in the requested information - without doing so you can’t create credentials!
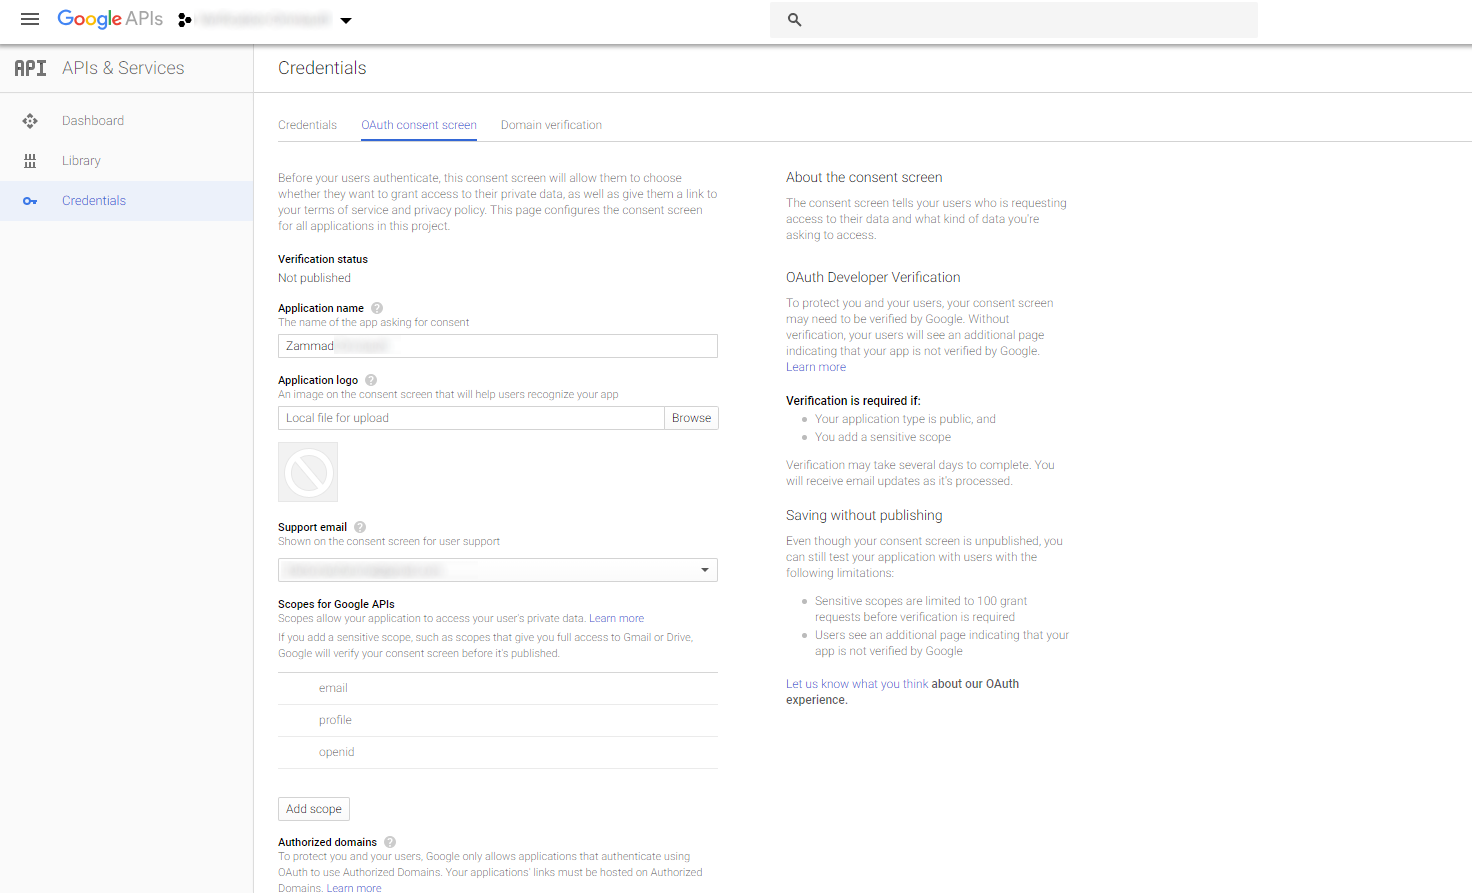
After filling in and saving the consent screen information, you can go to the “Credentials” tab and create new “OAuth client ID”-Credentials.
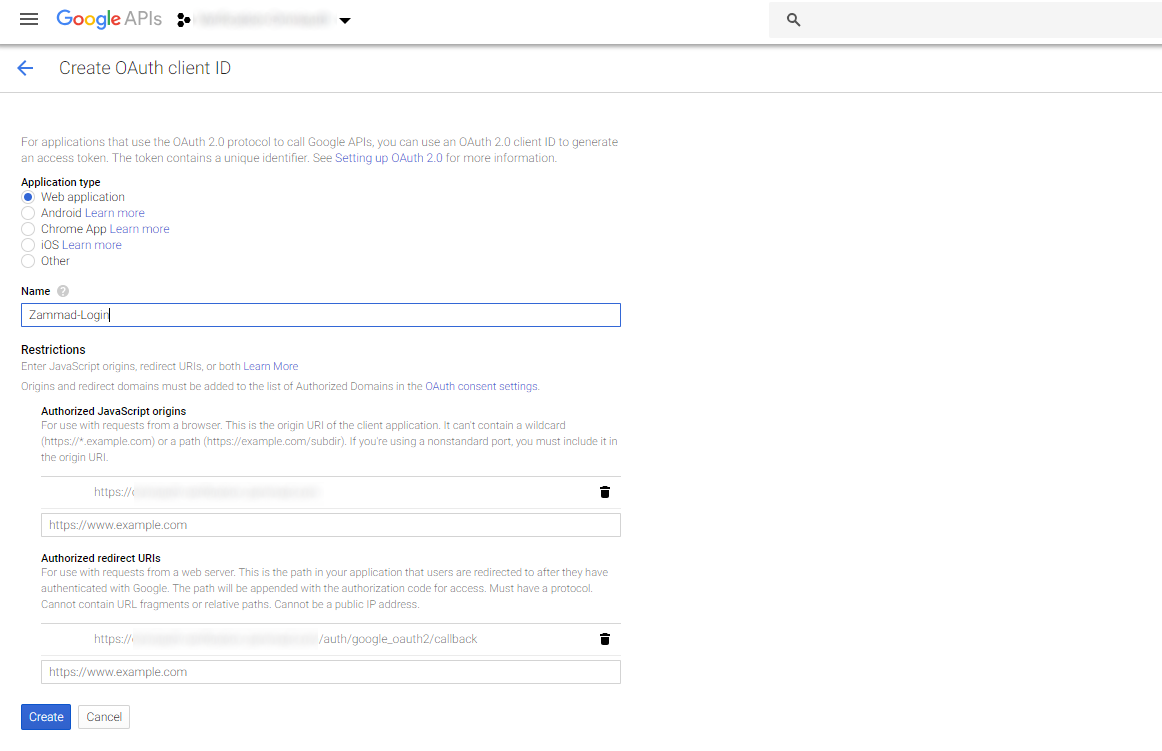
Fill in the necessary information as follows and replace zammad_host
with your FQDN:
Application type
[x] Web application
Authorized JavaScript origins
https://zammad_host/
Authorized redirect URIs
https://zammad_host/auth/google_oauth2/callback
After creating the credentials, go to your Zammad installation and navigate to “Admin > Security > Third Party Applications” > Google. Enter your Client ID and Client secret here.
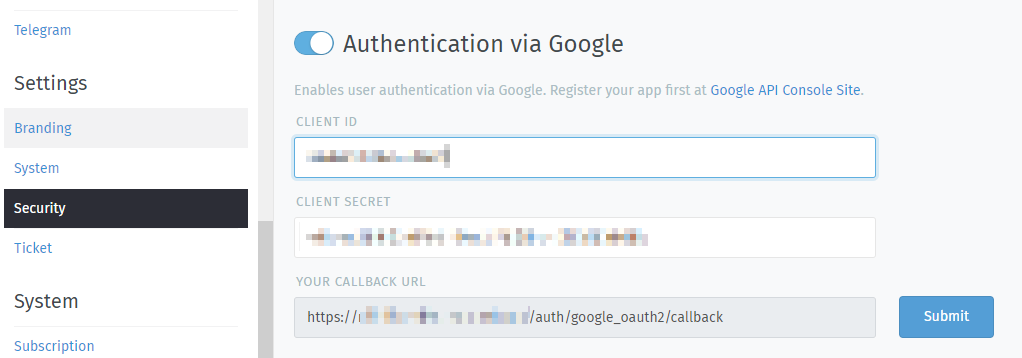
After submitting, the login via Google can be used.