Managing Users via CSV Import
If your organization has information about customers (or personnel) already stored in a directory system that can export to CSV, you can batch-import them into Zammad in just three steps.
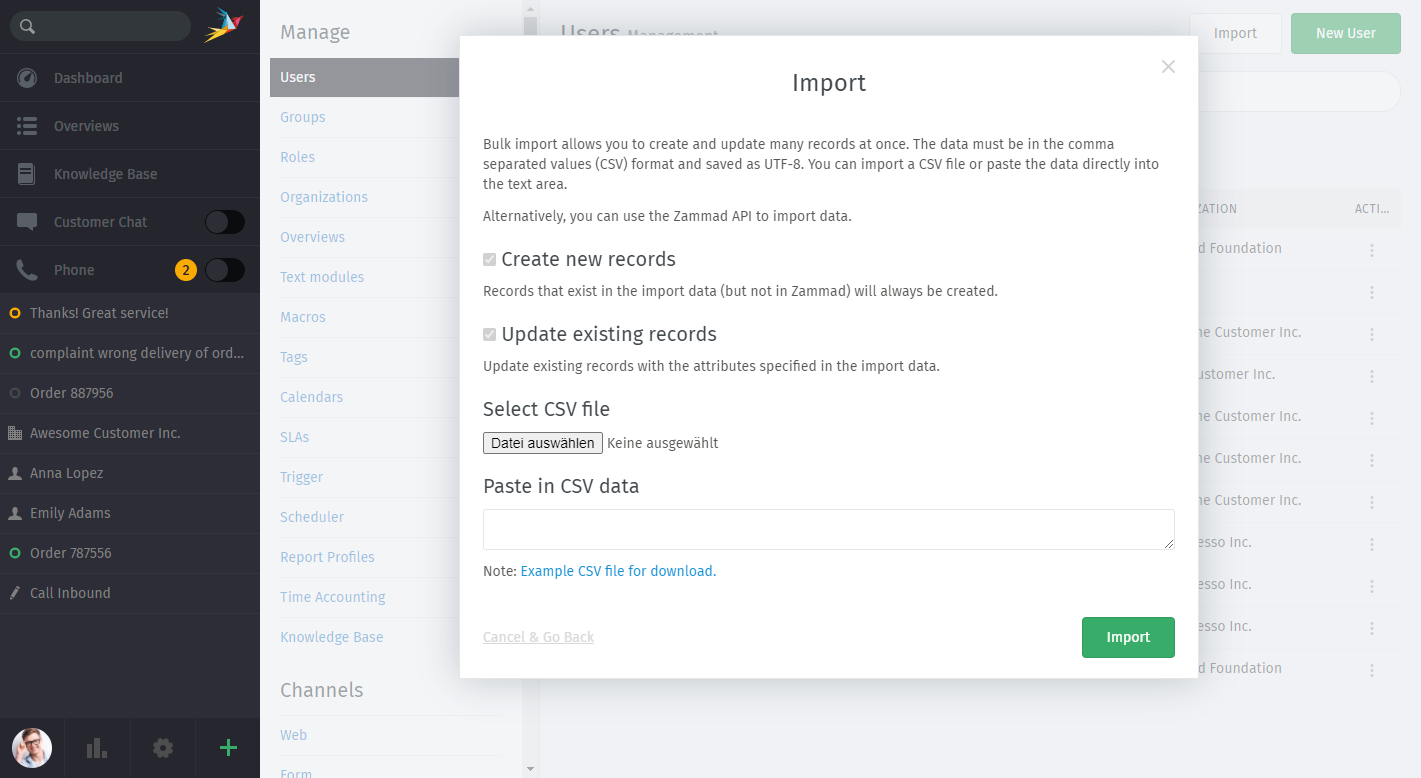
Use the Import button to open the CSV import dialog.
Hint
CSV import provides one-off batch processing of user records. For persistent, automated user synchronization, consider integration with a third-party directory system like LDAP / Active Directory or Exchange.
Step 1: Inspect the Sample .csv
Use the link at the bottom of the CSV import dialog (“Example CSV file for download”) to see how Zammad expects you to format your user data.
Step 2: Export Your User Data to .csv
Prepare your .csv file according to the format found in Step 1 above. Note that:
- the
idattribute (column) should be left blank or removed entirely; - the
firstnameandlastnameattributes are required; and - any others may be safely omitted as long as each row has the same number of fields (commas).
For instance:
login,firstname,lastname,email,web,active
jdoe,"John","Doe",jdoe@example.com,"https://zammad.com",true
mmore,"Madeline","Moore",mmore@example.net,"",false
Step 3: Import Your .csv to Zammad
Once your raw user data has been submitted, Zammad will perform a test run to compute the number of affected records:
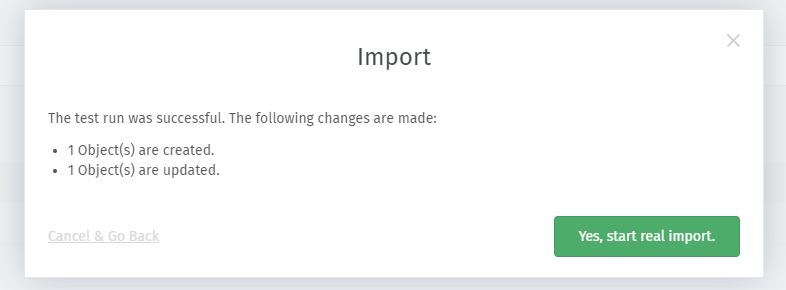
CSV import always begins with a preview / test run.
Note
🤔 How does it know when to create new records and when to update?
Records are updated when the imported data contains an email or login
that matches an existing user account.
Click Yes, start real import to proceed. (If you’re importing a lot of records, be patient—it may take a minute.)
That’s it! 🎉🎉🎉