How to create an App Password for Gmail
If you have 2FA enabled on your Google account, you will need to follow these directions before you can add your Gmail account to Zammad.
Hinweis
What the heck is 2FA?
Two-factor authentication, or 2FA for short, is an addtional layer of security offered by many online services. With 2FA, you need both your password and a one-time passcode (usually sent via SMS) to log in.
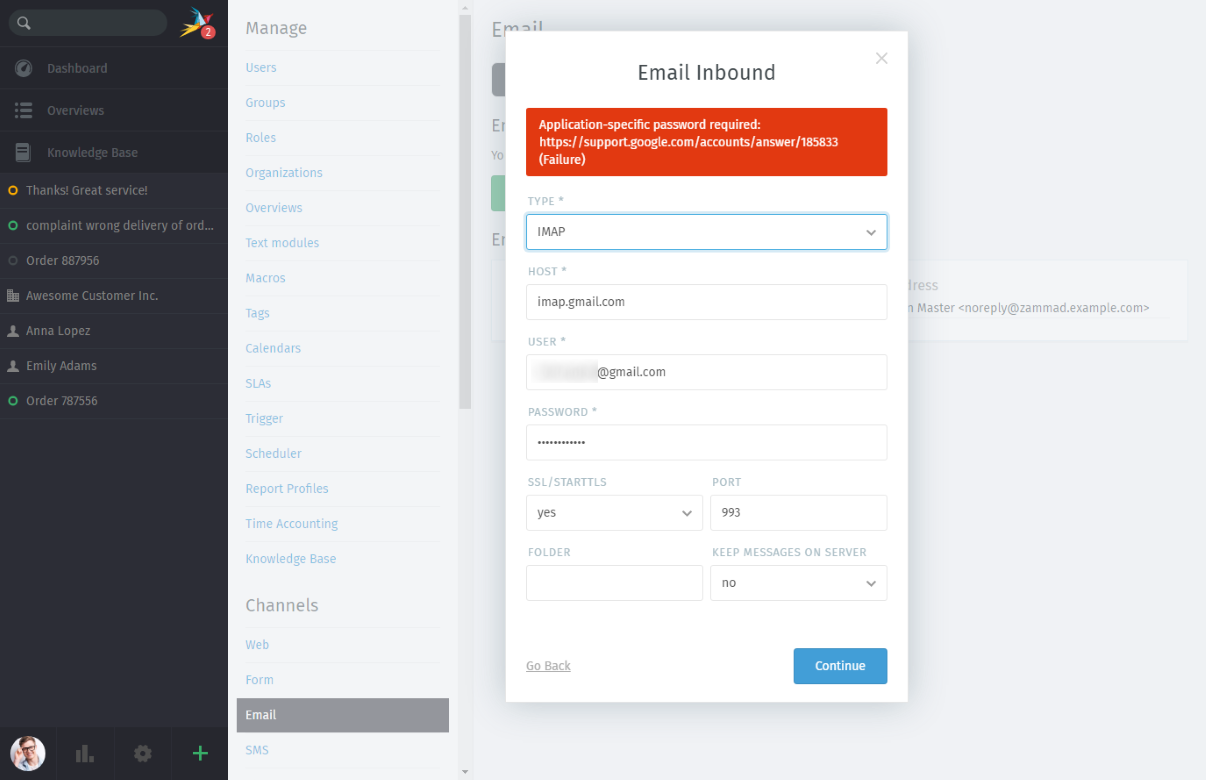
If Gmail account setup fails with the error shown above, your account has 2FA enabled.
To use Zammad with a 2FA-enabled email account, you’ll need to generate a separate app password for Zammad to use instead of your normal password. (Note that Google will automatically revoke all app passwords if you ever change your normal password; you can also manually revoke app passwords if you suspect they have been compromised.)
For more information, see Google’s official help article on the subject.
Bemerkung
G-Suite users might not be able to activiate 2 step verification, this option then has to be enabled by your G-Suite administrator (Security → Basic settings)
Step 1: Access Your App Password Settings Page
To begin, visit the App Passwords page of your Google Account settings, under the Security panel.
Warnung
🙅 Keep your password safe!
The page linked above will ask you to enter your Google password. Always always always make sure that a site is who it says it is before entering your password, especially when you got there by clicking a on a link in an email or on a third-party website.

Click on the 🔒 padlock icon to verify that your connection is secure, and check the domain in the URL to ensure that the site you’re giving your password to is really accounts.google.com.
If you wanted to be extra safe, your best bet would be to type “accounts.google.com” into your browser yourself, and navigate to the App Password page from there.
Of course, we’d never trick you—but you can never be too sure.
Step 2: Label and Generate a New App Password
- Under the Select app dropdown menu, choose Other (Custom name).
- Label your new app password Zammad.
- Then, click Generate.

Hinweis
If you wish, you can actually name your app password anything you like. Choosing a name you can easily recognize will help if you create many app passwords and need to revoke one in the future.
Step 3: Add Your Account to Zammad Using the App Password
Your new app password will appear on the screen. Copy and paste it into Zammad’s email account setup dialog in place of your normal password.
That’s it!
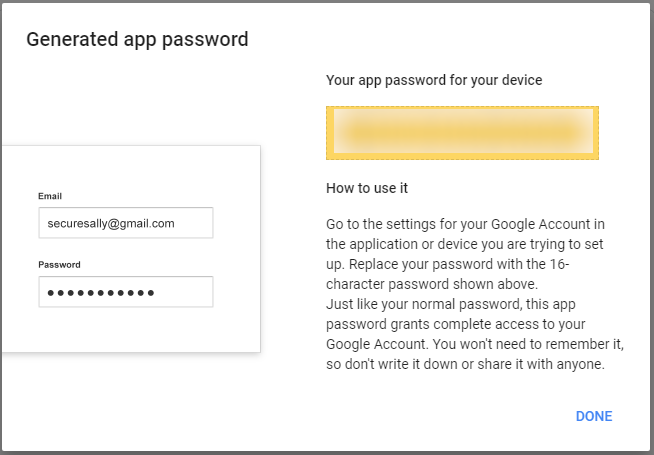
App passwords can only be viewed once. Make sure you’re totally finished adding your Gmail account to Zammad before clicking Done!