Knowledge Base
Publish your own library of FAQs, how-tos, internal processes and more with the
knowledge base. To configure it under Manage > Knowledge Base, you need the
admin.knowledge_base permission.
This page describes how to configure the knowledge base. For details on how to use and edit it, please head over to the knowledge base section in the user documentation.
By default, only admin users are permitted to create, edit and manage knowledge base content. See Roles for details on how to grant write access to agents or other users.
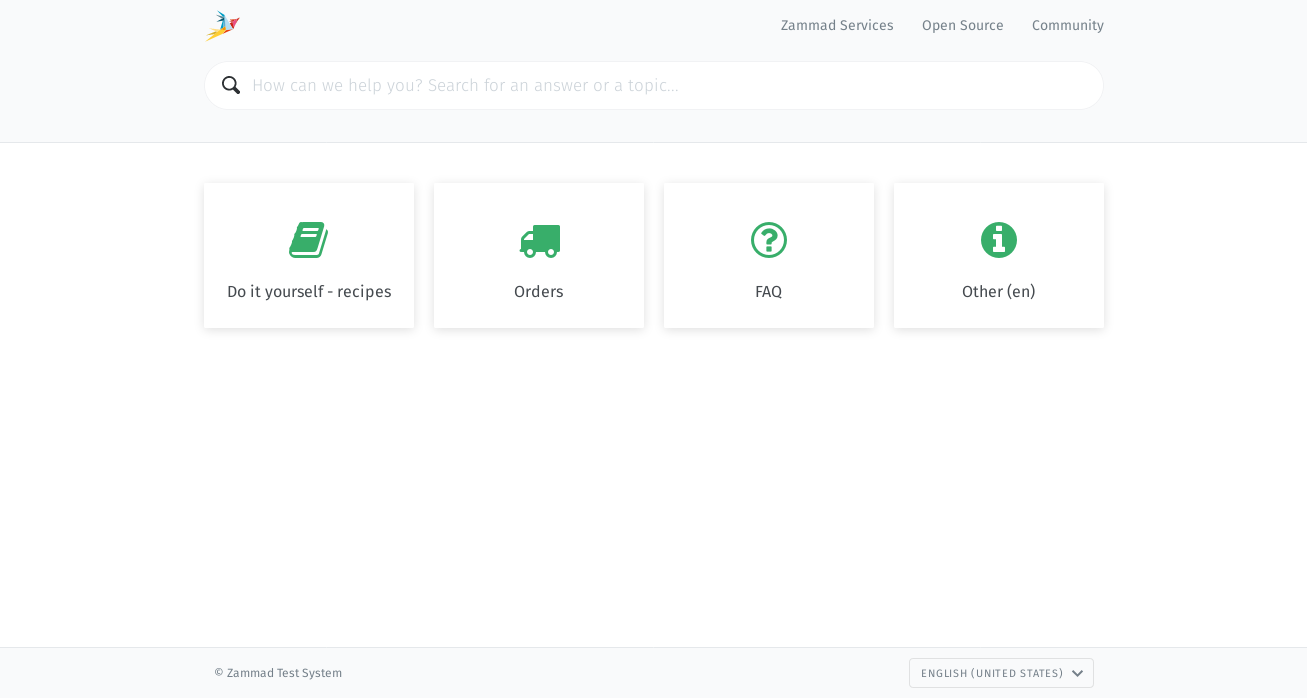
See a live demo at https://support.zammad.com/help.
Features
🌍 Multi-language support
🙈 Visibility settings (draft, staff-only, or public)
🔍 Full text search
📅 Scheduled publishing
📎 File attachments
🔗 Wiki-style internal linking to both 💡 KB answers and 📋 tickets
🖼️ Rich text editor + embedded images
📹 Embedded videos
Setup
To enable the knowledge base, toggle the switch at the top, select the
languages/locales you wish to publish in and click on the
Create Knowledge Base button. If the switch is deactivated, the knowledge
base taskbar tab is not visible.
After creating the knowledge base, you have access to the settings across different tabs:
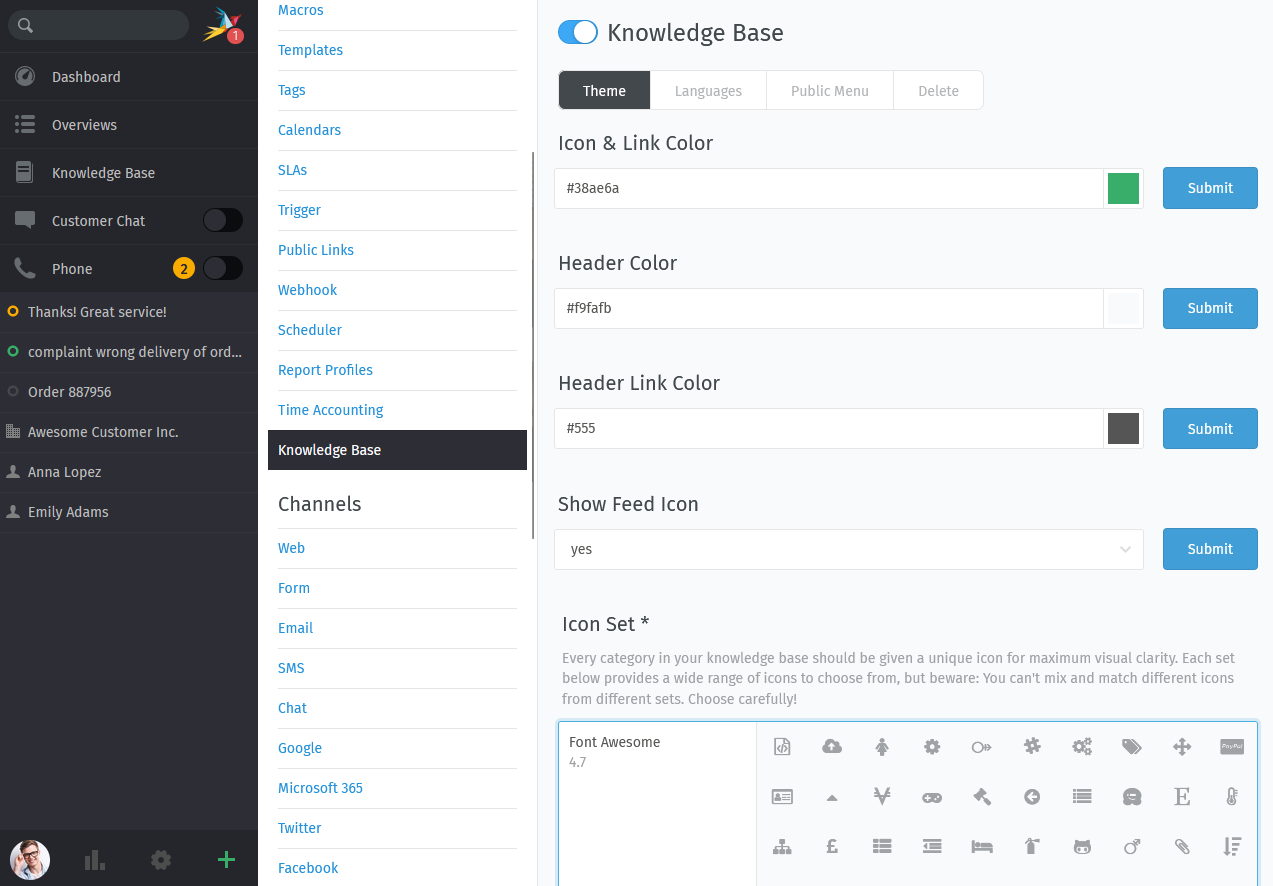
Read on for details about each section of the knowledge base configuration.
Theme
Customize the appearance of the knowledge base.
- Icon & Link Color
Applies to all category & article entries in knowledge base menus, as well as hyperlinks in articles.
- Header Color
Applies to the area surrounding the search bar.
- Header Link Color
Defines the color of the header links to use. Make sure that this color has a proper contrast to Header Color.
- Show Feed Icon
You can enable Zammad to provide RSS feed URLs in both internal and public knowledge base. With this option being active, Zammad will provide you up to two RSS links:
a general RSS feed of the whole knowledge base (top level)
a category specific RSS feed of the category you’re in (also applies to answers you’re viewing)
This setting is set to
noby default.Hint
Your agents will receive special RSS feed URLs with access tokens. Agents can always renew these. Keep in mind that sharing these URLs with third parties may provide access to internal answers!
- Icon Set
Defines the selection of icons that may be used when creating/editing categories.
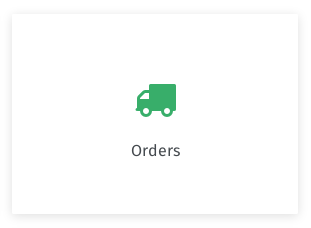
Each category in the knowledge base must be given an icon. Icons appear prominently in the main menu, like so:
Re-assigning icons on all of your categories is tedious work. It’s advisable to explore your options early to avoid having to change your mind down the road.
Hint
In case you want to further customize how your knowledge base looks for your customers, you can do so by providing custom CSS files. Check out the custom knowledge base CSS section in the system documentation to learn how to do that. Please note that this requires access to the machine your Zammad runs on.
Languages
Add or remove locales here or set a locale as new default.
The knowledge base will automatically display the language matching each visitor’s locale. Visitors may always manually switch to another language via language selection menu in the header. If the visitor’s locale is not supported, the default locale gets displayed then. Articles which are not yet translated into a given language will be hidden when the language is selected by the reader.
Public Menu
Use this section to unify the knowledge base with your own website’s main navigation. Entries added here will appear in the knowledge base like in the following screenshot:
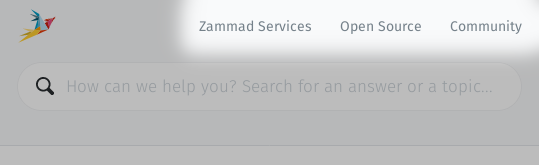
Zammad provides a list of the currently set links, separated by knowledge base language. If you’re missing a language, you’ll have to add the language first.
- Arranging URLs
By clicking on
Edit, Zammad allows you to add, update, re-arrange or remove URLs from either your public header menu or public footer menu.- Title
This is the URL title that’s being displayed to your users.
- URL
The actual URL the user is going to open upon clicking.
- Target
Allows you to tell your users browser to open the URL in a new tab. By default your user would leave the knowledge base page if not set.
- Delete
If you tick the delete field, the URL will be removed from the menu upon pressing on the
Submitbutton.- Change URLs position
Use ☰ to drag & drop the URLs in question to the new desired position. Your changes will be saved with pressing the
Submitbutton.
Video Servers
By default, videos from Vimeo and YouTube are accepted for embedding in knowledge base answers. To allow users to embed videos from MediaCMS or PeerTube, you must add the respective instances here.
Add one or more services by providing a Name and a Hostname. The name appears as a hint for users when adding a video. The system then validates each video URL against the hostname, ensuring that users can only embed videos from your specified servers.
Custom URL
Note
This feature is only available on self-hosted instances.
By default, the knowledge base is accessible at the same domain as your Zammad
instance with appended /help. If you wish to customize its address,
enter your desired URL here and configure your web server accordingly. Zammad
provides a snippet for Apache and Nginx web servers after clicking the
Web Server Configuration. You can find a tutorial about how to use a
custom knowledge base URL in combination with Nginx proxy manager (NPM)
in the system documentation.
Delete
Permanently delete the knowledge base and all of its content by typing the full name of your knowledge base, as indicated in the hint above. Please be aware that this action is irreversible and cannot be undone. To unpublish the knowledge base without deleting its content, simply disable it using the toggle at the top of the page instead.
Permissions
The general access to the knowledge base is managed via
knowledge_base.reader and knowledge_base.editor permissions. You can
find details in the roles and permissions page.
If you want to grant more granular permissions than the global read/edit permissions (e.g. edit permissions only for specific parts of the knowledge base), you can do so by following the steps below:
First, create the base structure of the knowledge base (if not already done)
Create or choose one or more roles which should have granular permissions
Grant the
knowledge_base.readerpermission to the desired role(s)Edit the permissions of each (sub-)category of the knowledge base
Assign the role to one or more users who should be able to edit the knowledge base (partially)
Note
The permissions of a parent category are inherited to sub-categories.
The permission
knowledge_base.readercan be widened or restricted in sub-categories.The permission
knowledge_base.editorcan’t be adjusted in sub-categories.Have a look at the knowledge base section in the user documentation where you can find more information about the usage.
The permission
knowledge_base.readeris not relevant for public answers. They are always visible to everyone.