Note
Filters in Microsoft 365 channels work in the same way as in email channels. This is why the section has been adopted verbatim from here.
Filters
Introduction
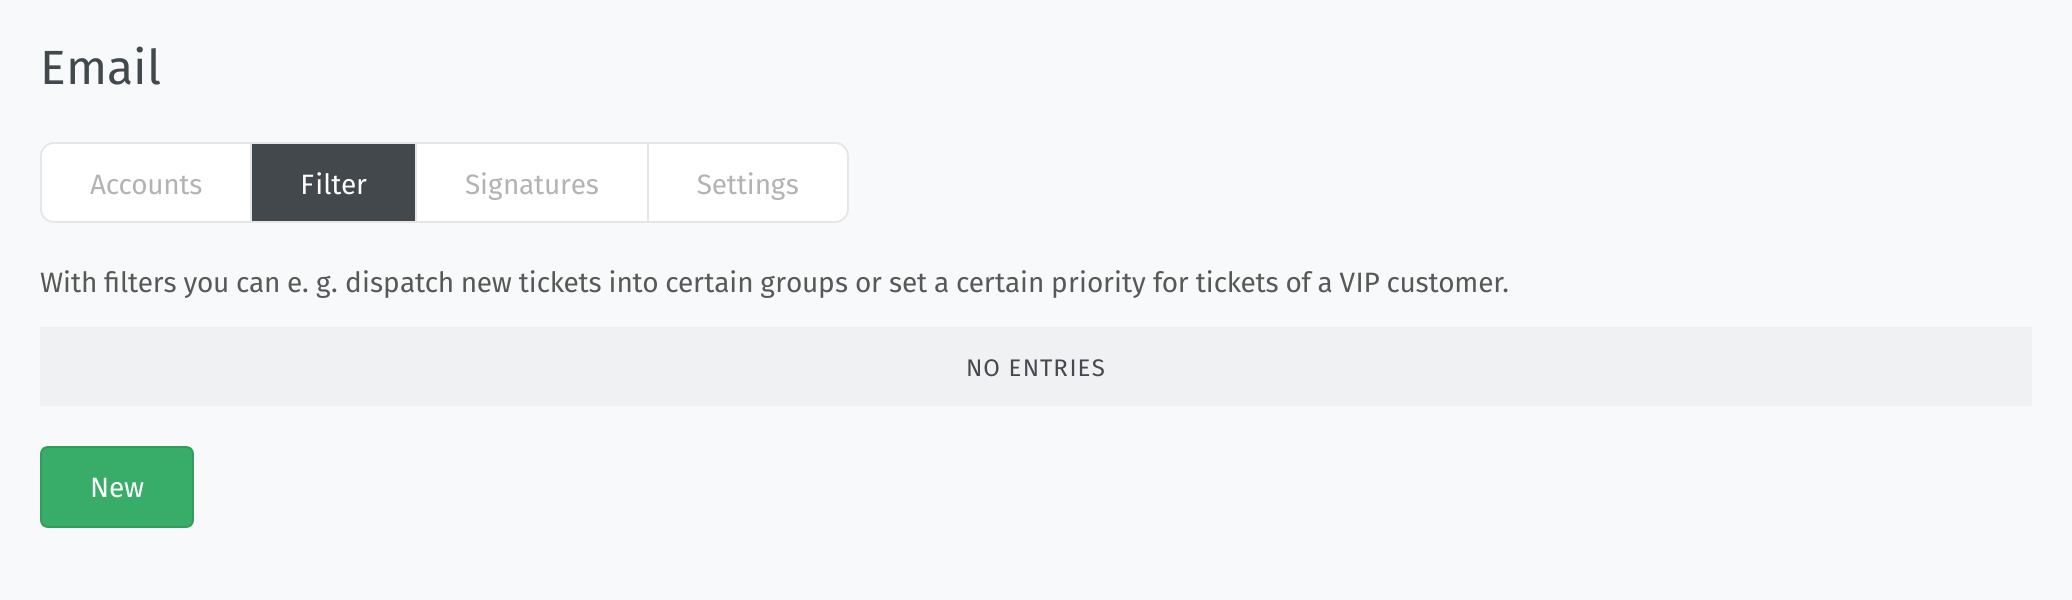
With filters in email-based channels (“postmaster filters”), you can adjust Zammad’s behavior, automate actions and extract information when an email is received. The filters are based on conditions and differentiate between actions for the ticket creation and the ticket update. The available options differ from those available in other automation types (triggers and scheduler jobs). So if your use case isn’t covered by filters, consider using triggers or scheduler jobs instead.
Zammad includes some built-in system filters by default which you can’t see or modify. Check the system filters section below for more information.
Usage
To create a new filter, click on the New button. This opens a dialog where
you can configure it. To modify an existing filter, just click on its row in the
table, which opens the same dialog.
In addition to that, you can clone or delete a filter by clicking on the ⠇
to open the action menu and select the corresponding option. The cloning can be
useful if you have a complex configuration and don’t want to start from scratch.
Instead of deleting a filter, consider to setting it to inactive so you can
easily activate it again later.
In addition to some meta information, the configuration basically consists of two parts: the condition to define which emails are affected (Match all of the following) and the action to define the changes for matching emails (Perform actions).
- Name
Name of the filter. This is also shown in the ticket history if the filter has been applied to a ticket.
- Match all of the following
Define which emails should be affected by the filter based on conditions. You can use various email attribute checks such as sender, subject, or custom headers. They all have to match for the action to get applied. The conditions work similarly to other places in Zammad. Have a look at the object conditions page, where you can find details about how the operators work.
It is even possible to extract information from incoming emails and to use it in actions. An example for this could be to extract an order number from the subject and write it into a custom object attribute. This is done via regular expressions and their capture groups. To extract a string, use matches regex as operator, add a named capture group in parentheses like
(?<name>)and include the part you want to extract. For the order number example, it could look like.*[Oo]rder.*\D(?<order_number>\d+).*.You can even use multiple capture groups in one part of the condition or use them in multiple condition parts for different attributes. Be aware that all parts of the condition have to match for the action to get applied. Consider using a separate filter in case you want to extract information from different attributes and the information might not always be present. Even though you could use unnamed captures, it is recommended to use named capture groups to prevent them from getting overwritten when using them in more than one condition part in a single filter.
Hint
Another way to extract text is by using a text extractor AI agent.
- Perform actions
Define which actions should be performed on the matching emails. You can differentiate between actions for the ticket creation and the ticket update. Additionally, you have some related options available like changing the visibility of the article.
If you extracted information in a condition, you can use it in the actions and write it to any available and fitting attribute which is capable of storing the extracted string (e.g. ticket title or a custom object attribute of a text type).
To write the extracted string, use the variable
#{regexp.name}, wherenameis the name of the capture group you defined in the condition, e.g.#{regexp.order_number}. For unnamed capture groups, use the number of the capture group, e.g.#{regexp.1}for the first capture group. Make sure to always use theregexpnamespace.- Note
Add a note about the filter. This note is only for internal use and visible for other admins.
- Active
Set the filter to active or inactive. Only active filters are applied to incoming emails.
Examples
Group Assignment Based on Sender Domain
- Example
Automatically move emails from
@amazon.comto the “Purchasing” group.- Condition
From: matches regex:
(\.|@)amazon\.com- Action
Group: Purchasing
Organization-Based Ticket Assignment
- Example
Automatically dispatch tickets to responsible staff based on the organization name.
- Condition
Organization: starts with one of
ABC- Action
Owner: Emily Adams
VIP Customer Handling
- Example
Automatically increase the priority of tickets from a VIP customer.
- Condition
From: contains
ourvipcustomer@example.com- Action
Priority: 3 high
Spam Handling
- Example
Automatically tag and close spam tickets that have been marked as spam by an external spam filter (e.g. SpamAssassin).
- Condition
X-Spam-Flag: contains
YES- Action
Tag: add
spamState: closed
Extract Information from Subject
- Example
Automatically extract an invoice number from the email subject (with an unnamed capture group) and write it to the custom object attribute “Invoice number”.
- Condition
Subject: matches regex
.*[Ii]nvoice.*\D(\d+).*- Action
Invoice number:
#{regexp.1}
Extract Information from Email Body
- Example
Automatically extract an order number from the email body (with a named capture group) and write it to the custom object attribute “Order number”.
- Condition
Body: matches regex
.*[Oo]rder.*\D(?<order_number>\d+).*- Action
Order number:
#{regexp.order_number}
System Filters
Zammad comes with some built-in system filters by default. You can’t see them in the UI. The intention is to tweak the behavior of Zammad for emails from common systems which have some kind of special formatting. Have a look at our separate subpage about System Filters where you can find more details.