Ntfy Notifications
Follow the steps below to configure a webhook for sending notification via ntfy. Have a look at their documentation for more information and custom configuration.
Hint
This example guides you through a basic setup. Depending on your setup and use case, steps and available options may differ.
Step 1 - Setup Ntfy Topic
Go to ntfy and create a new topic by using the Subscribe to topic button.
Either configure access to this topic (in case you are a ntfy Pro user) or
choose a random topic.

Once created, make sure to copy your topic name to clipboard and save it for later.
Hint
If you want to password protect your channel, you have to use basic auth in your webhook with username and password. See ntfy documentation for more information.
Step 2 - Add a New Webhook with Custom Payload
Go to Webhook management screen in your Zammad
instance and click on the New Webhook button. Activate the
Custom Payload toggle and add your information like in the example.
Depending on the features you want to use and your ntfy plan, it might be required to provide HTTP Basic Authentication Username as well as the appropriate password.

You can find the example payload below. Important attributes are:
topic: name of your topic. You might have copied it in Step 1.title: the title/heading of the notification.message: the message of your notification. You can use Zammad variables as you can see in the example.
Additional attributes can be:
priority: priority of the notification from1-5. This option defines how the notification is categorized on client devices.click: URL to open if the notification is clicked.icon: icon of your notification. Can be a a link to a .png or .jpg file.actions: define quick actions which can be executed directly from the notification.
For detailed information about the possible actions, have a look at the ntfy action button documentation.
Hint
For actions to work, you need to self host ntfy and adjust your CORS value in NGINX.
{
   "topic":    "{insert your topic here}",
   "title":    "Ticket Update",
   "message":  "Ticket #{ticket.number} was updated!",
   "priority": 3,
   "click":    "#{config.http_type}://#{config.fqdn}/#ticket/zoom/#{ticket.id}",
   "icon": "URL to an icon in png or jpg.",

   "actions": [
      {
         "action": "http",
         "label": "Set High Priority",
         "url": "#{config.http_type}://#{config.fqdn}/api/v1/tickets/#{ticket.id}",
         "method": "PUT",
         "headers":
            {
               "Authorization": "Bearer {your bearer token from Zammad}",
               "Content-Type":  "application/json"
            },
         "body": "{\"priority_id\": 3}"
      }
   ]
}
Finally, click on Submit.
Step 3 - Configuring a Trigger for Firing the Webhook
As a last step, you need to create a Trigger for triggering a notification. Define a condition, in which cases a notification should be generated and select your webhook as action.
Once the trigger is in place, your webhook is ready for use!
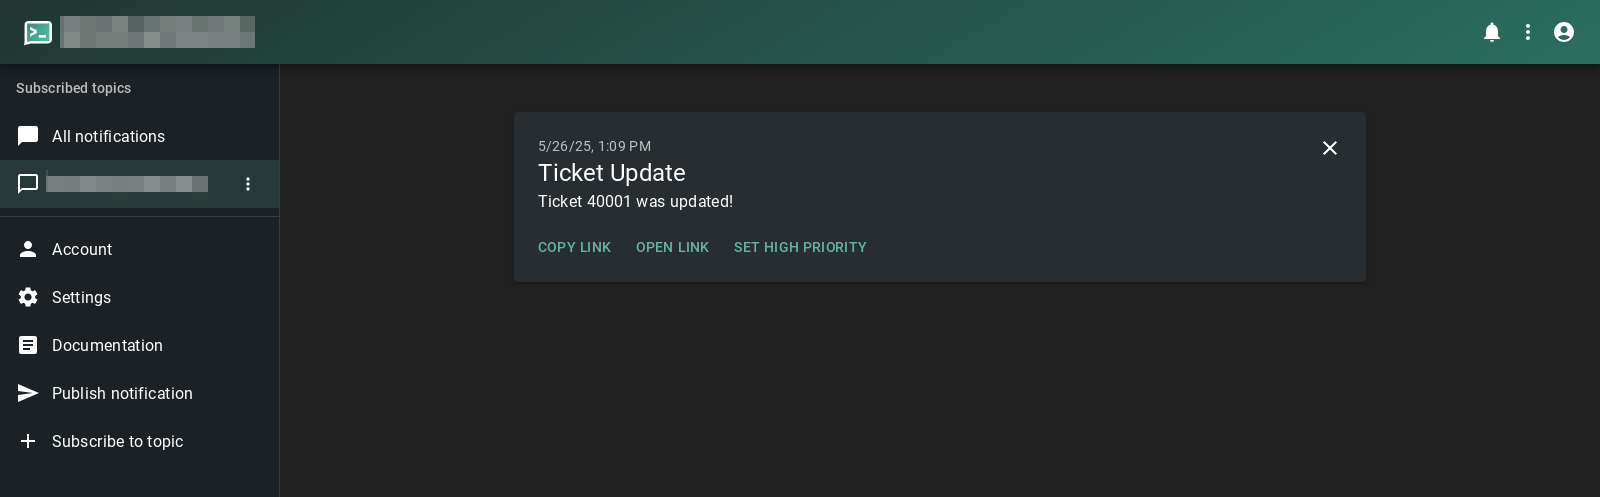
Sample NTFY Channel Notification
From now on, a notification will be pushed to ntfy and all subscribed devices. The notification contains the link to the ticket, an image and action buttons, depending on what you configured.