Google
Configure Google as an OAuth provider so users can log in to Zammad with their Google account.
Register a Google App
Create a new project if you don’t have one already. Do so by following this link: https://console.cloud.google.com/projectcreate
Check if you are already in your project. If not, switch to it.
Go to APIs & Services > OAuth consent screen. If you didn’t configure it before, you should see a
Get startedbutton. Follow the steps and provide the requested information.App name: Any fitting name. This is what the user sees when trying to log in via Google.
User support email: choose an available email address here.
Audience: Choose Internal or External, depending on your use case.
Contact Information: enter an email address which should get notified about changes in your project.
Go to APIs & Services > Credentials. Add a configuration by clicking the Create credentials dropdown. Choose OAuth client ID and fill in the following information, replace
zammad_hostwith the FQDN of your Zammad. You can also find the redirect URI in Zammad’s Google OAuth configuration.Application type: Web application
Name: Any fitting name for your use case, e.g. Zammad.
Authorized JavaScript origins:
https://zammad_host/Authorized redirect URIs:
https://zammad_host/auth/google_oauth2/callback

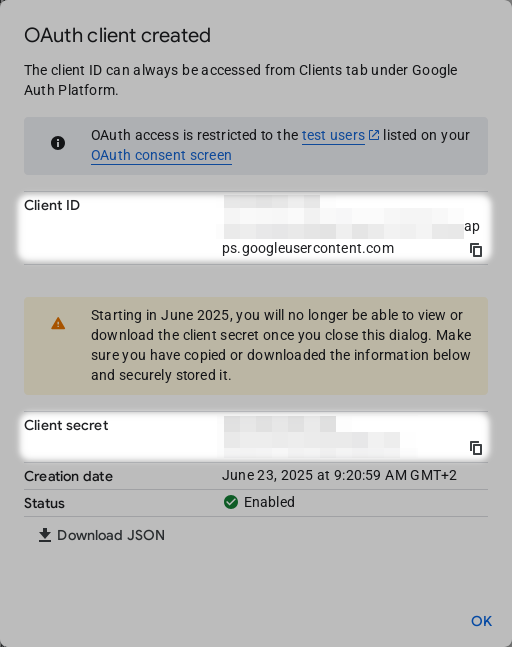
After adding the information, click on
Create. This opens a dialog where you can see important information. Make sure to leave this dialog open and/or copy the Client ID and Client secret.
Configure Authentication in Zammad
After creating the credentials, go to your Zammad installation and navigate to
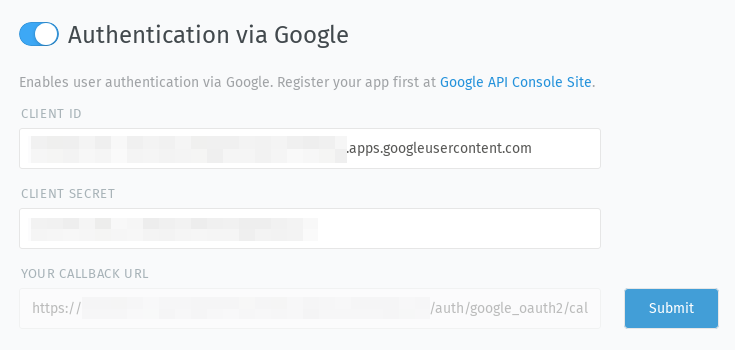
Settings > Security > Third-party Applications > Authentication via Google.
Enter your Client ID and Client secret here, enable the toggle and
click on Submit.
After submitting, users can log in with their Google account.