Adding Webhooks
Defining a webhook allows you to use a specific endpoint in several triggers or schedulers.
Basics
Hint
Keep in mind that the remote site has to be able to understand the default webhook payload, Zammad is sending. Find more information about the customization of a payload in the next section.
To add a new regular webhook, click the New Webhook button.
For a pre-defined webhook, click on the arrow button to the right and choose
Pre-defined Webhook from the dropdown menu.
In case you select a pre-defined webhook, you get asked to choose from one of
the available pre-defined ones:
Mattermost
Microsoft Teams
Rocket Chat
Slack
After you select one and click on Next, Zammad shows the webhook
configuration dialog. This is what you see directly when creating a webhook from
scratch. Read on for more information about the configuration of a webhook.
Configuration
You can configure the following information for webhooks:
- Name
This name will be displayed within trigger and scheduler selections.
- Endpoint
Webhook endpoint Zammad sends its payload to. Please note that Zammad ignores basic authentication parameters here. See below how to configure username and password via separate fields.
- Request method
Choose between
DELETE,PATCH,POSTandPUT, depending on your use case.- SSL verification
Defaults to
yes- if you’re using unsecure self signed certificates, set this option tono.Danger
Please be aware that turning off SSL verification is a security risk. It should only be used temporarily or for testing purposes. If turned off, there is no verification of the certificate, which means that any presented certificate will be accepted.
- Authentication
Choose between HTTP Basic Authentication, Bearer Token or no authentication, depending on what the target service supports.
- Bearer Token
In case you selected this authentication method, add your token here.
- Username
In case of HTTP Basic Authentication, provide your username here.
- Password
In case of HTTP Basic Authentication, provide the password of the user here.
- HMAC SHA1 Signature Token
If set, all sent webhooks contain a x-hub-signature header allowing the remote site to verify the request.
Note
This does not encrypt the payload. Use HTTPS connections to secure the communication. It contains a HMAC signature of the body of the webhook request. Learn more about HUB-Signatures here.
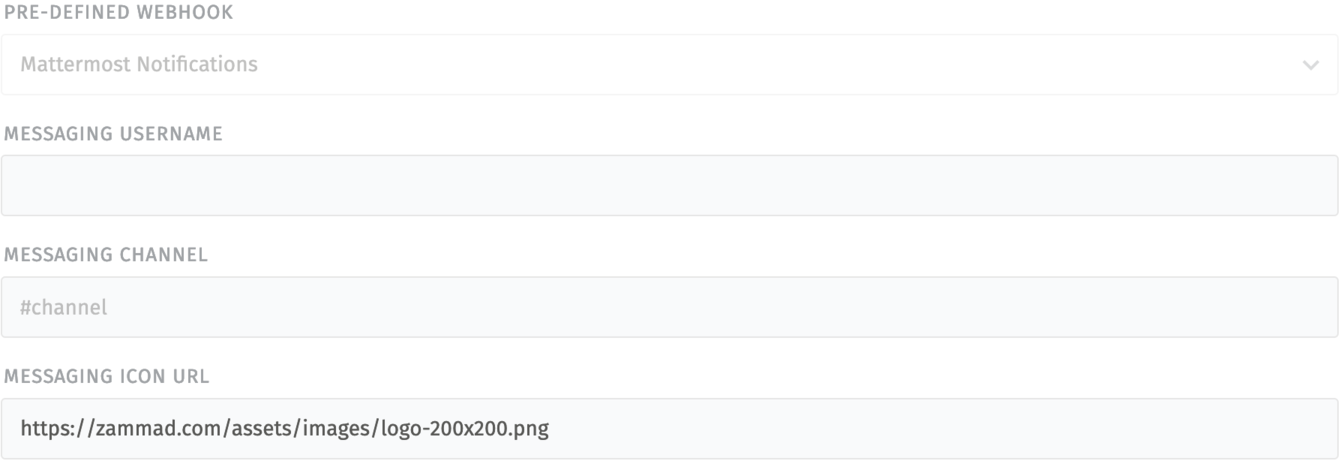
- Pre-defined Webhook
This field is only displayed for pre-defined webhooks! It only serves as a reference to a pre-defined webhook. It is not possible to change it for existing webhooks. Depending on the pre-defined webhook type, additional fields may be rendered below this one. They can be used for additional customization of the webhook behavior.
Example for Mattermost:
- Custom Payload
By default, it is turned off and the webhook will always send Default JSON Payload to the target endpoint. When switched on, a code editor will be shown below, where you can configure a custom payload for your webhook in JSON format. To insert supported Variables, use : : or insert
#{for autocomplete.Hint
The usage of variables is limited compared to other places. Some features are not available in webhooks (e.g. the
.valueextension, translation (#{t(object.attribute)}) and time formatting (#{dt(object.time_attribute, [...]) functions). Make sure to select a variable from the autocomplete suggestions.The custom payload must have a valid JSON syntax! The code editor will highlight if there is an issue with the syntax. Also, it will not be possible to save an invalid JSON structure.
Pre-defined webhooks will always provide an initial custom payload, specific for the associated service.

A basic example for the structure looks like this:
{
  "ticket": "#{ticket.title}",
  "message": "#{notification.message}",
  "customer": "#{ticket.customer.fullname}"
}
- Note
If required you can leave useful information for other Zammad admins to understand the webhook in question better.
- Active
If set to
inactive, you can no longer select the webhook in the trigger or scheduler configuration. Inactive webhooks will not be fired. If triggers or schedulers have other actions configured as well, they will still be executed.
After you set up your webhook, make sure to invoke it via trigger or scheduler. In case something doesn’t work, have a look at the troubleshooting section.