Rocket Chat Notifications
Follow the steps below to configure a webhook for receiving Zammad notifications in a Rocket Chat channel.
Step 1 - Setup Incoming Webhooks Integration for your Rocket Chat Channel
In your Rocket Chat overflow administration menu, choose Workspace.

In the left sidebar choose Integrations and then click on the New button
in the upper right corner.

First, turn on the Enabled switch on top.
Provide an appropriate Name for the incoming integration and enter the
target channel into Post to Channel field, in #channel-name format.
Enter the Rocket Chat username into Post as field, without the @ prefix.
Note that the username must already exist.

Scroll to the end of the form and click on Save button.
Once successfully saved, make sure to copy the webhook endpoint URL to clipboard and save it for later. You can do this in one click via the button shown inside the field.

Finally, close the Administration panel by clicking on X on the left side.
Step 2 - Add a Pre-defined Webhook in Zammad
Go to Webhook management screen in your Zammad instance and click on the arrow next to the green button in the upper right corner. Choose Pre-defined Webhook from the dropdown menu.
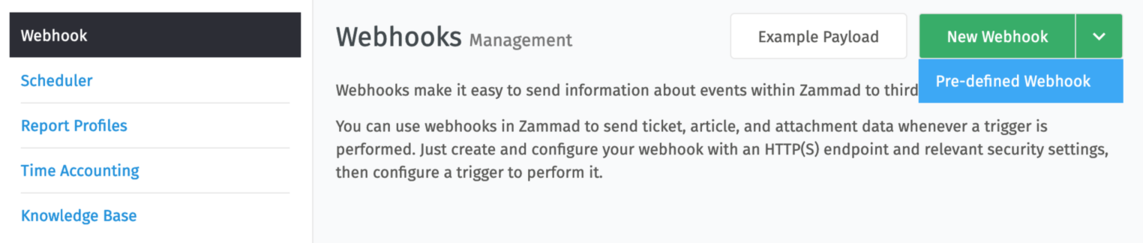
In the subsequent modal dialog, select Rocket Chat Notifications as the pre-defined webhook.

Click Next.
In the new dialog, paste the webhook endpoint URL from Rocket Chat into Endpoint field.
Optionally, you can set Messaging Username which will be used to post the Zammad notifications.
Optionally, you can also set Messaging Channel, if you would like to post to a different target channel than configured in the Rocket Chat incoming integration.

Finally, click on Submit.
Step 3 - Configuring a Trigger for firing of the Webhook
As a last step, you need to create a Trigger for posting a notification to the Rocket Chat channel under certain conditions.
Once the trigger is in place, your webhook is ready for use!
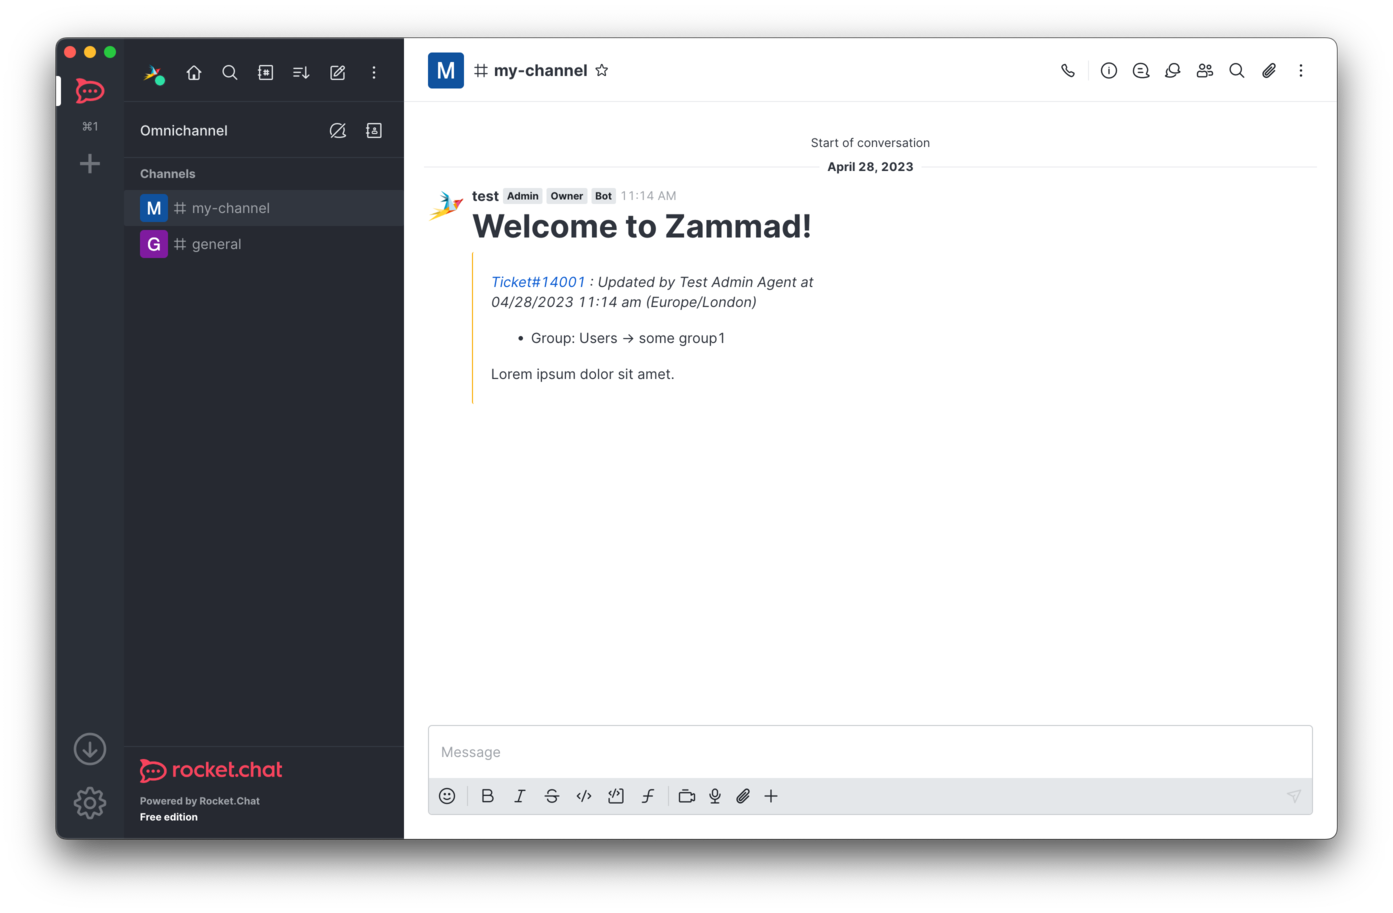
Sample Rocket Chat Channel Notification
From now on, whenever a ticket is created or updated in your Zammad system, a suitable notification will be posted in the configured Rocket Chat Channel. The notification will contain the link to the ticket, updated data and content of the last article. It will also be color coded according to its latest state.
Removing Article Content from the Rocket Chat Notification
If you are concerned about leaking sensitive article content via notifications, there is a way to remove them by further customizing the webhook payload.
Find your webhook in the list on the management screen and click on it to edit it.
Switch on Custom Payload and the code editor below will be shown, pre-populated with the default payload.
Next, identify the line starting with "text": "... block in the JSON
structure.

Scroll horizontally to the end of the line and select
\n\n#{notification.body} part near the end. Be sure not to include the end
double quote with comma (",) in the rest of the line, since the new payload
must remain a valid JSON value.

Then, simply delete the selected code.

Finally, click on Submit to save your webhook changes.
On the next invocation of the webhook, the notification will not include content of the last article.