Note
Managing accounts in Microsoft 365 channels works in the same way as in email channels. This is why the section has been adopted verbatim from here.
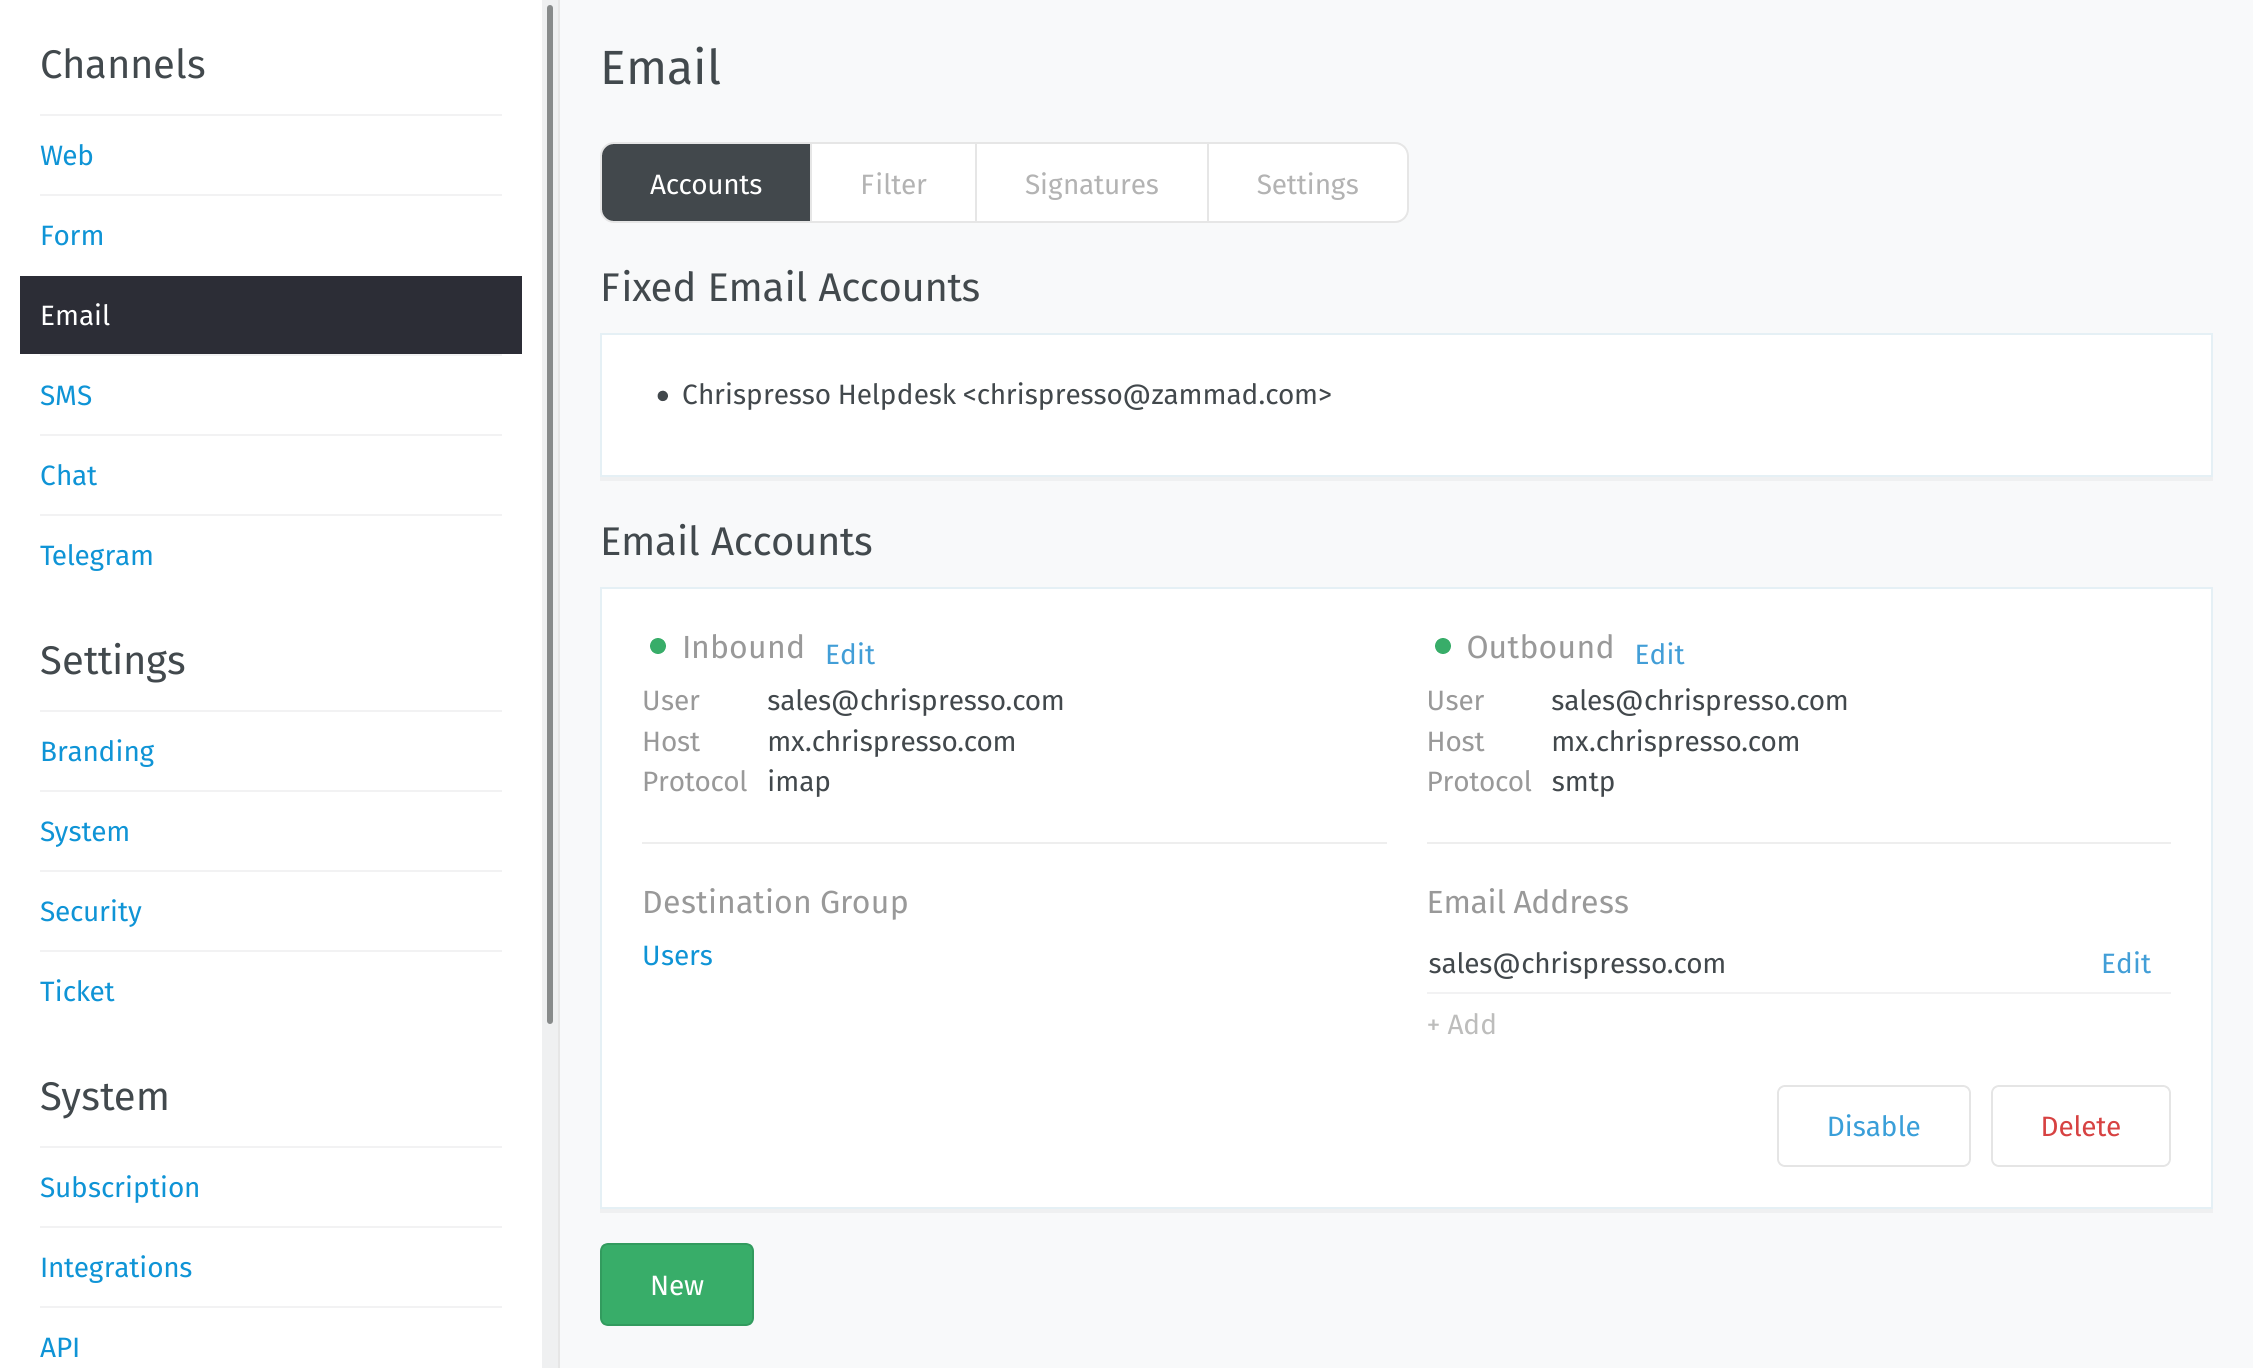
Managing Accounts
Once an account has been added, use the accounts panel to edit its configuration.
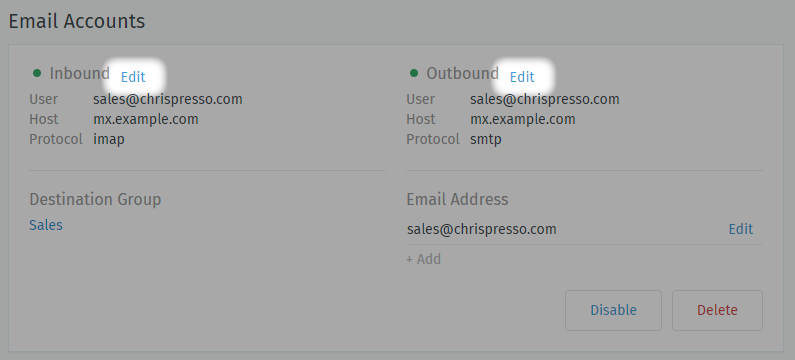
- Mail Server Settings
Click Edit on inbound/outbound account details to change your server configuration.
See New Account Settings for a detailed description of each option.
- Destination Group
Click on the group name to reassign the account.
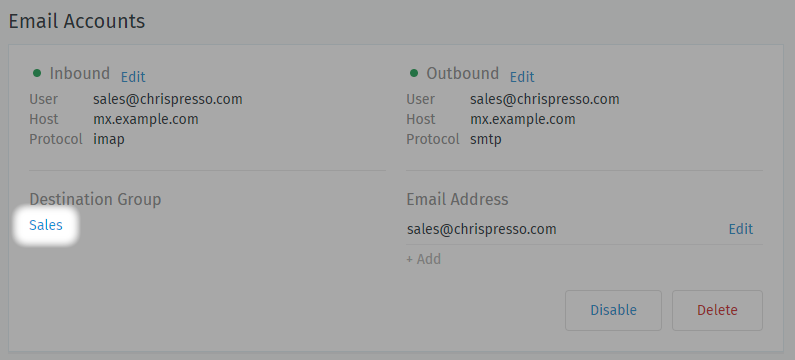
Only active groups will be displayed. Changing this setting will not reassign existing tickets to the new group.
You can assign the related outgoing email address to the new group by choosing the option under Destination group email address or leave it as it is. To assign an outgoing email address to a group manually, have a look at the group settings.
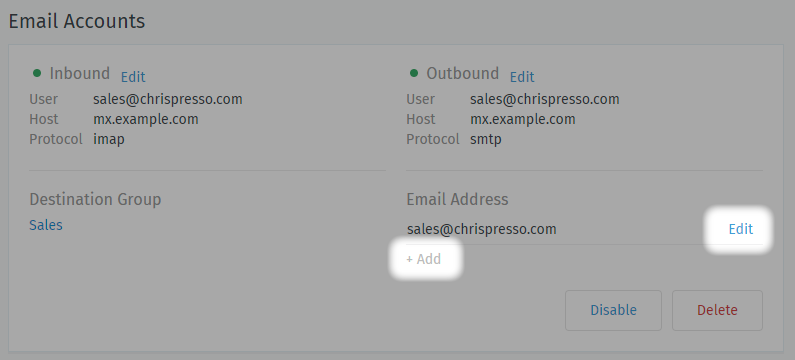
- Email Address
Use the
+ AddorEditbuttons to set up secondary addresses on this account.See Secondary Addresses for a detailed description of each option.
- Enabled / Disabled
Disabling an account temporarily prevents Zammad from importing its messages.
This may be necessary during scheduled maintenance or when migrating your installation to a new host.
Disabling an account disables outgoing messages for it, as well.
- Delete
Deleting an account removes its configuration from Zammad entirely.
Note
🧹 Additional Steps Required
Groups need an assigned an address to send outgoing emails. If you delete a group’s assigned address, agents belonging to that group won’t be able to send emails until you assign it a new one.